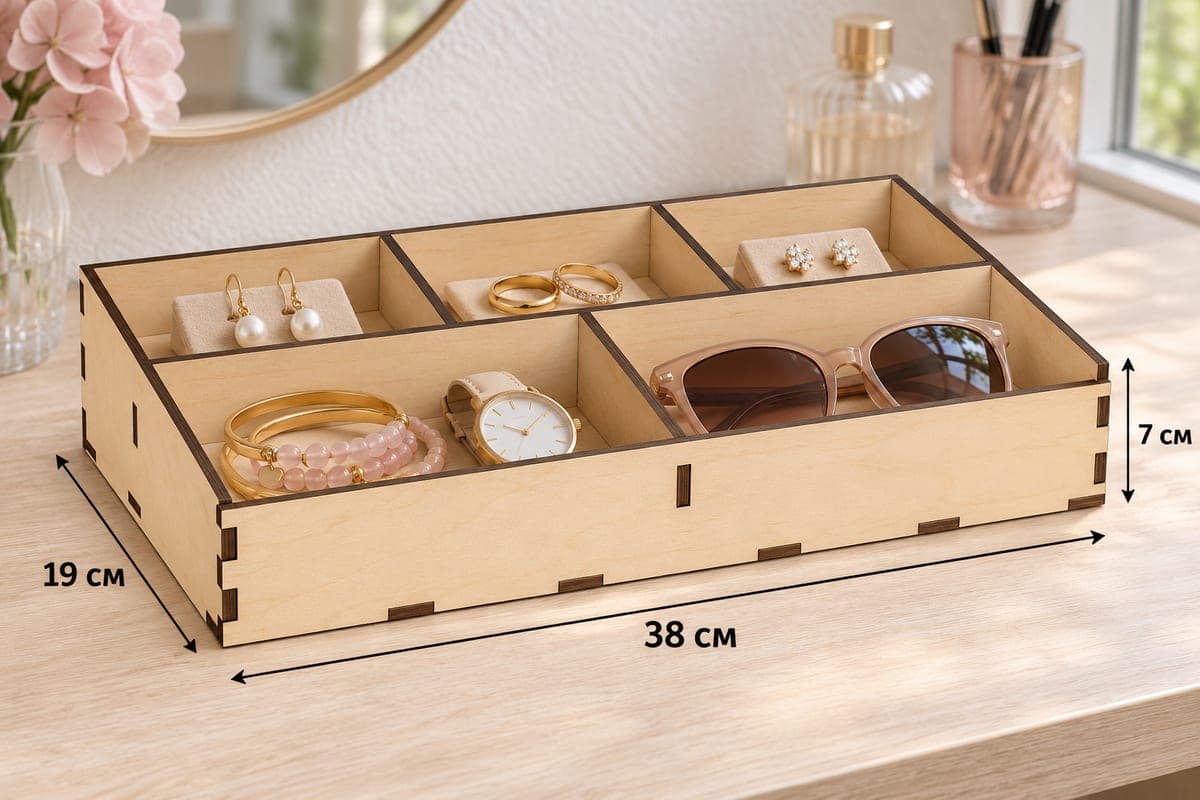
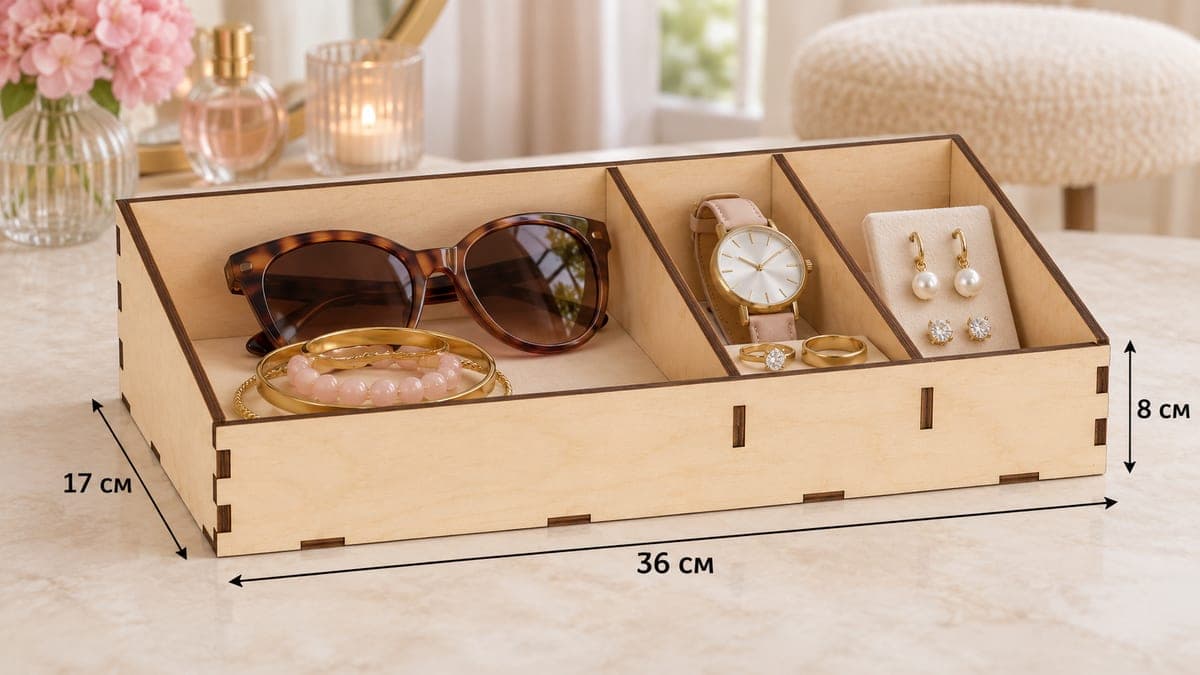
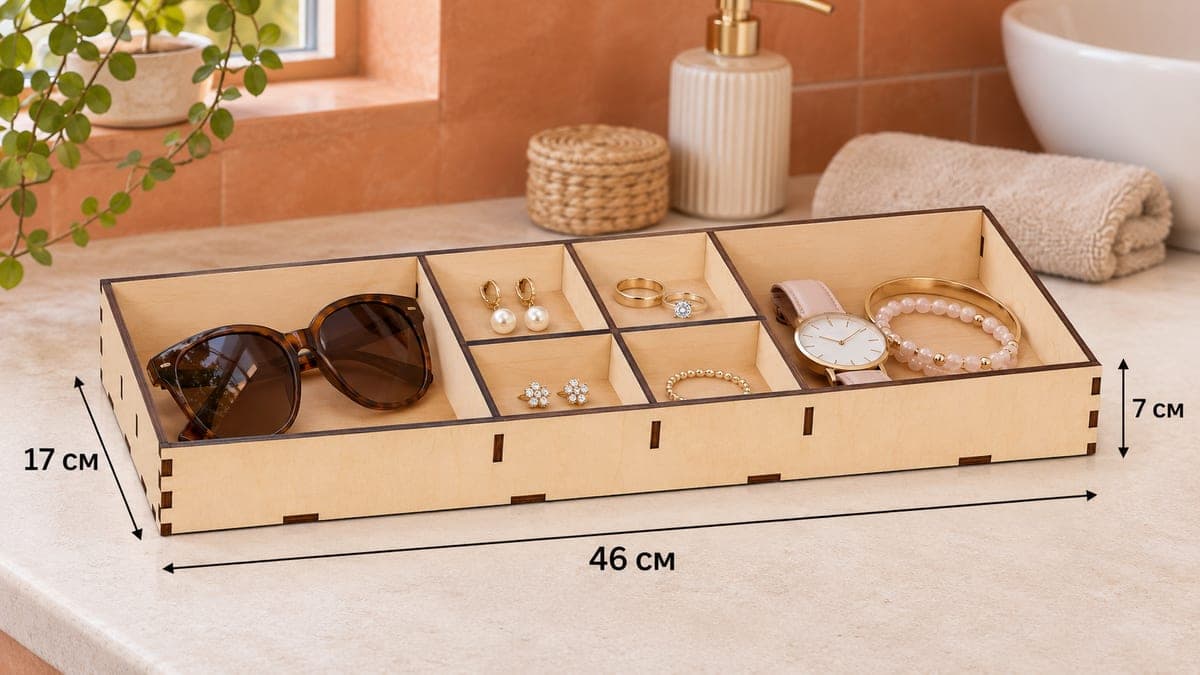
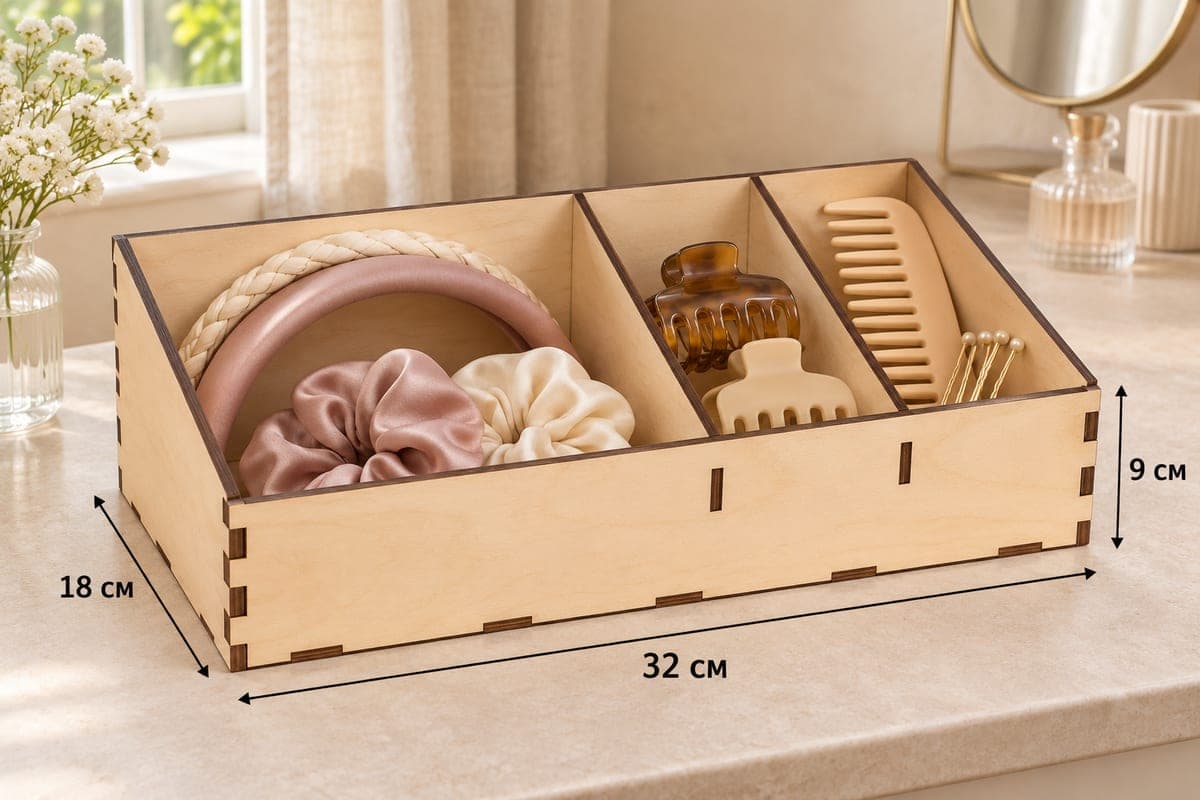
 Visualization
Compact Jewelry Box SVG, Four Section Wooden Organizer DXF, Small Vanity Jewelry Tray Laser Cut File
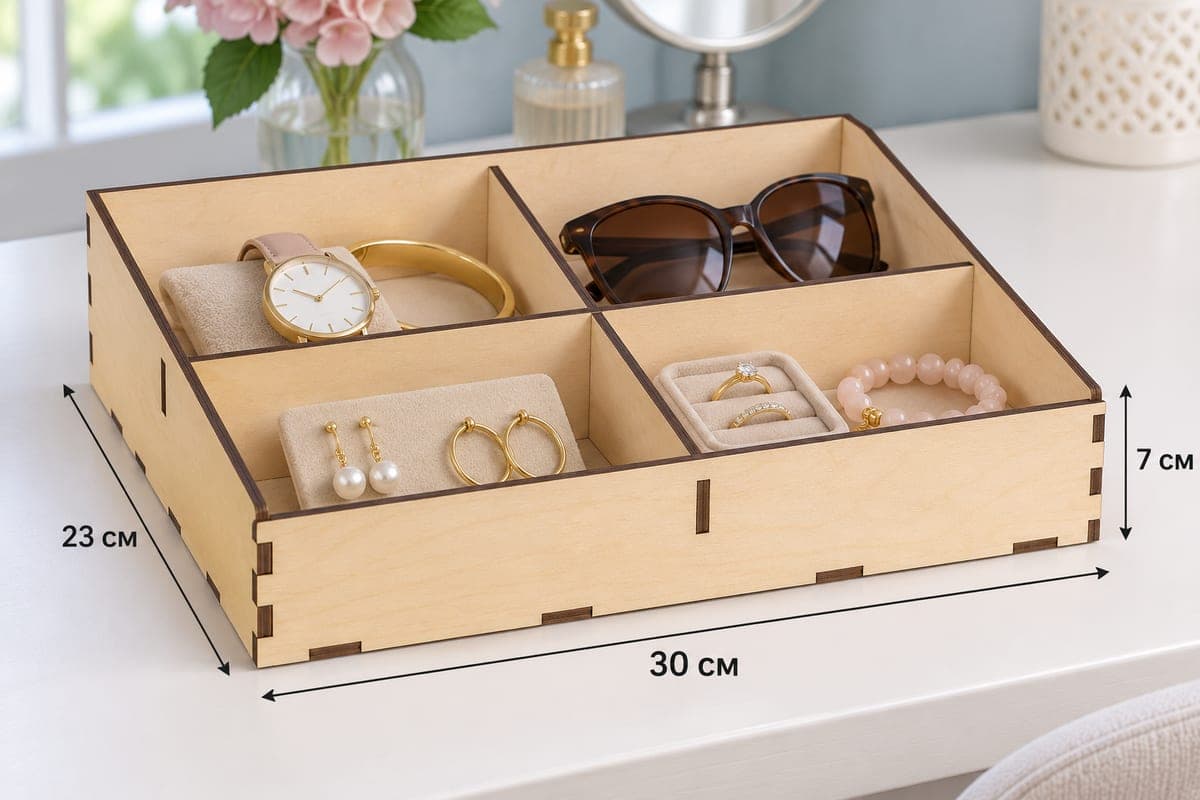
A compact jewelry box divided into four quarters, two at the back and two at the front, with a sloped front wall so the contents stay visible. It measures 300 × 230 × 70 mm (11.81 × 9.06 × 2.76 in), is cut from 8 pieces that join with tabs and slots, and the free download includes SVG and DXF for 3, 4, 5 and 6 mm plywood.
- Formats
- SVG, DXF
- Outer size (W × D × H)
- 300 × 230 × 70 mm (11.81 × 9.06 × 2.76 in)
- Parts
- 8
- Material thickness
- 3, 4, 5 or 6 mm plywood (a file for each)
- Layout size (3 mm file)
- 1,080 × 312 mm
- Cut length
- 5.90 m
- Est. time, 10 W diode (3 mm)
- 19 min 40 s
- Est. time, 40 W CO2 (3 mm)
- 8 min 12 s
- Layers
- CUT only, no engraving
Free account required to download
How to make it
- 01Download the version for your plywood and check the tab fit by cutting one cross slot in a scrap strip.
- 02Laser the eight parts, putting the 300 × 230 mm base on its own sheet if your bed is small.
- 03Cross the two short dividers over the long one in a plus shape, set it on the base and add back, sides and front.
- 04Sand the sloped side edges, oil or lacquer the box and line the four quarters with felt before filling them.
Four quarters, one small footprint
At 300 mm wide this is the most compact box in the jewelry set, but it is also fairly deep at 230 mm. A cross divider splits it into a back and a front half, and one short divider in each half gives four sections. In the photo the back left quarter holds a watch and a bangle, the back right one a pair of sunglasses, the front left pearl earrings and gold hoops, and the front right a ring box with a beaded bracelet beside it.
The front wall is 52 mm against a 70 mm back, a gentle slope that keeps the box low enough for a shelf but still shows what is inside.
Making it
Eight parts: front, back, two sloped sides, base, cross divider and two short dividers. For the 3 mm file the laser time works out to about 19 min 40 s on a 10 W diode, about 8 min 12 s on a 40 W CO2 and about 3 min 56 s on a 100 W CO2. The nested layout is 1080 × 312 mm; on a 300 × 300 mm machine split it over three sheets and keep the base on its own.
Fit both short dividers to the cross divider so they form a plus shape, drop that onto the base, then add the walls. No glue is needed to hold it, though a little wood glue stops the dividers from lifting when you pull rings out.
Finishing touches
Sand the sloped edges of the sides, since they are the most visible line on the box. Clear oil darkens birch slightly and gives a warmer look; a matte lacquer keeps it pale. Small velvet pads or felt sheets cut to the quarter size make it feel like a shop-bought jewelry box.
Questions about this file
Is this box big enough for sunglasses?
One folded pair fits in a back quarter, as in the photo. If you store several pairs, a longer box from the set with a wide bay is a better choice.
Can I add felt lining to the sections?
Yes. Cut felt or velvet pads slightly smaller than each quarter and glue them to the base; they stop rings from sliding and protect soft metals.
How do I resize it without ruining the joints?
Scale the outline as you like, then reset every slot to the real thickness of your plywood. The tab-and-slot joints only work when the slot equals the material thickness.
Which version should a 10 W diode owner use?
The 3 mm file is the easiest, one or two passes. The 5 and 6 mm files work too but need several passes and more careful focus.
Could I engrave a name on the front?
The file only has cut lines, but the 300 mm front gives plenty of space; add a text layer in your laser software and engrave before cutting.
Similar files