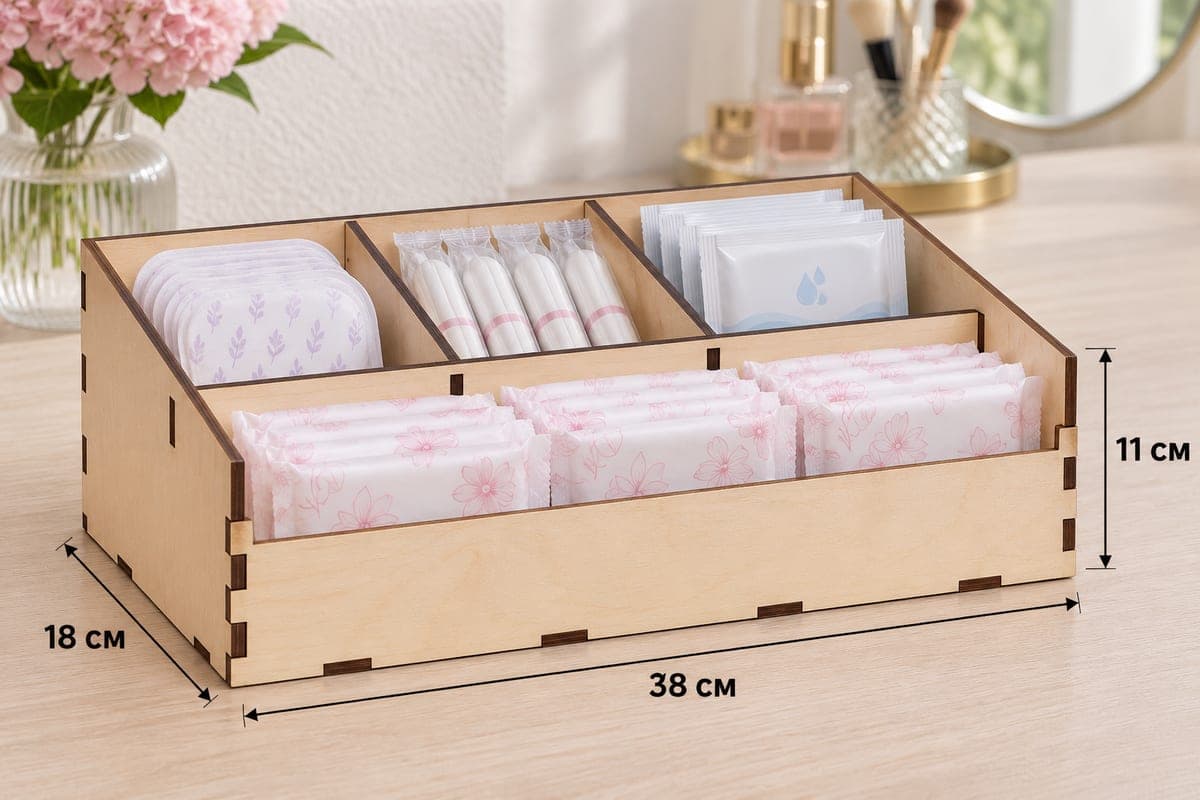
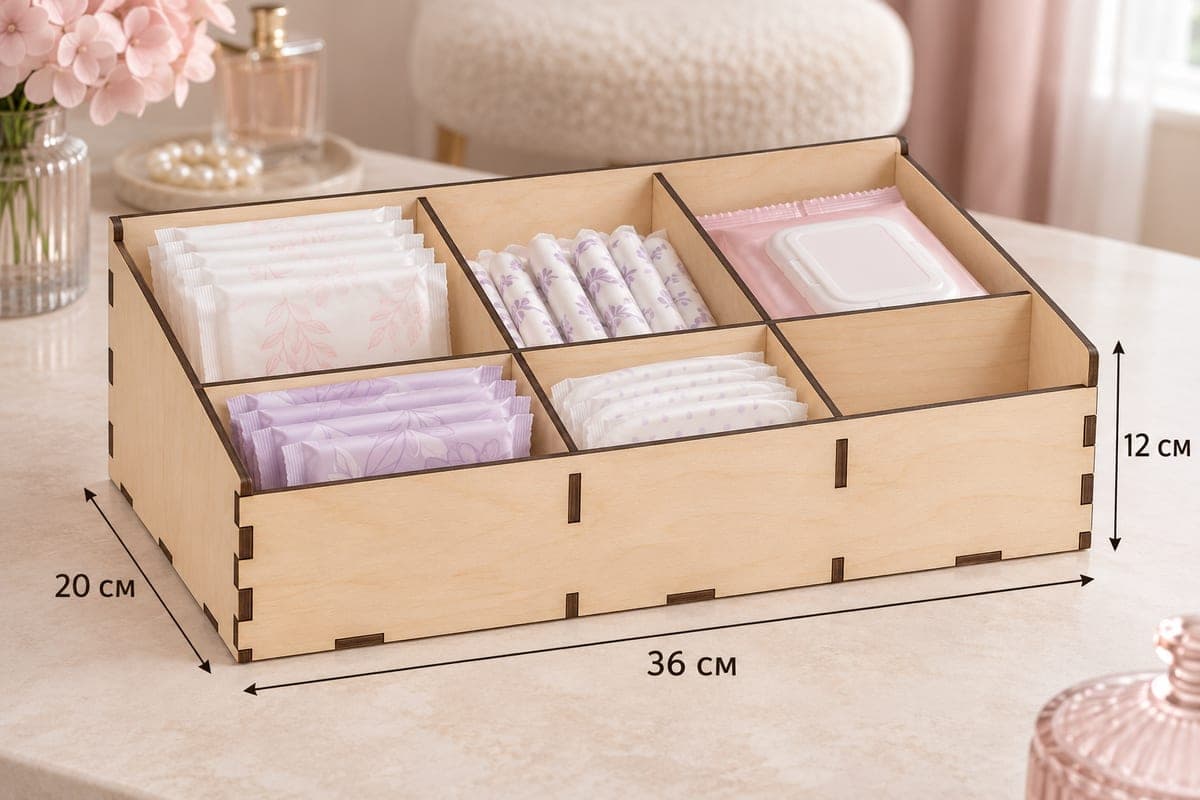
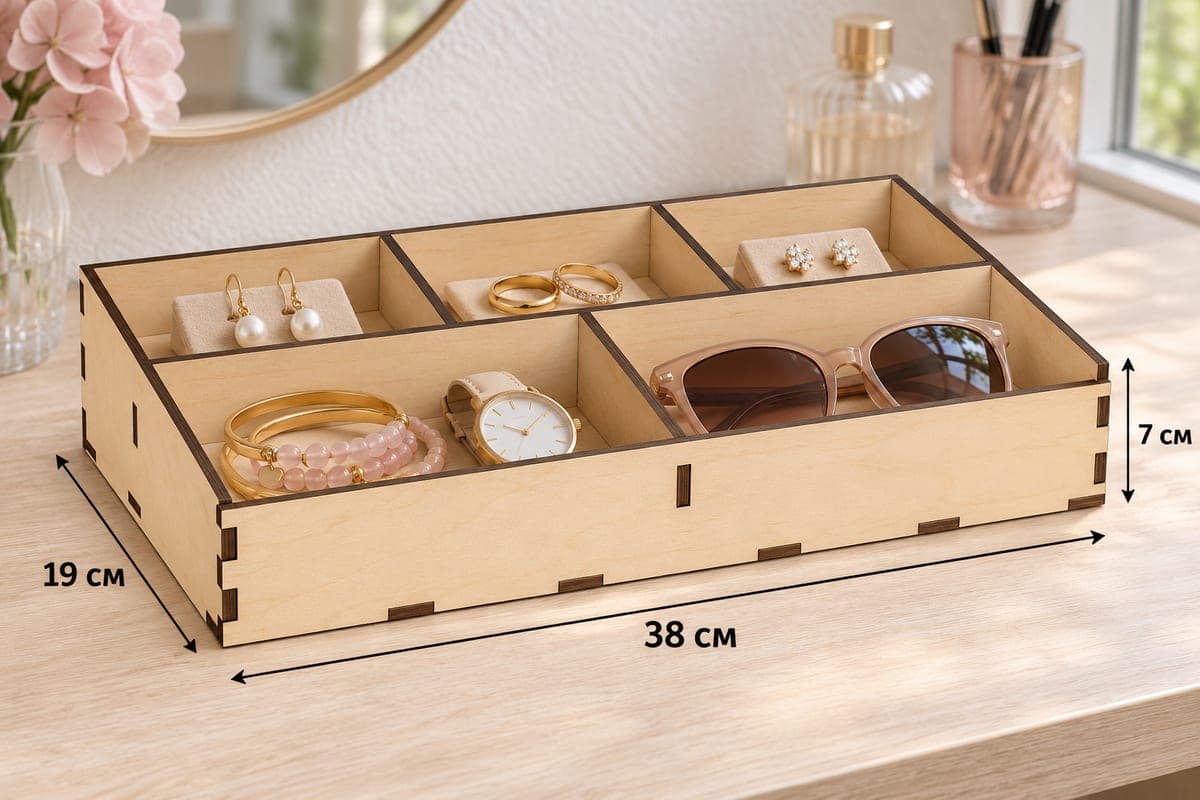
 Visualization
Pad Organizer SVG, Stepped Tampon and Liner Holder, Wooden Bathroom Caddy Laser Cut DXF
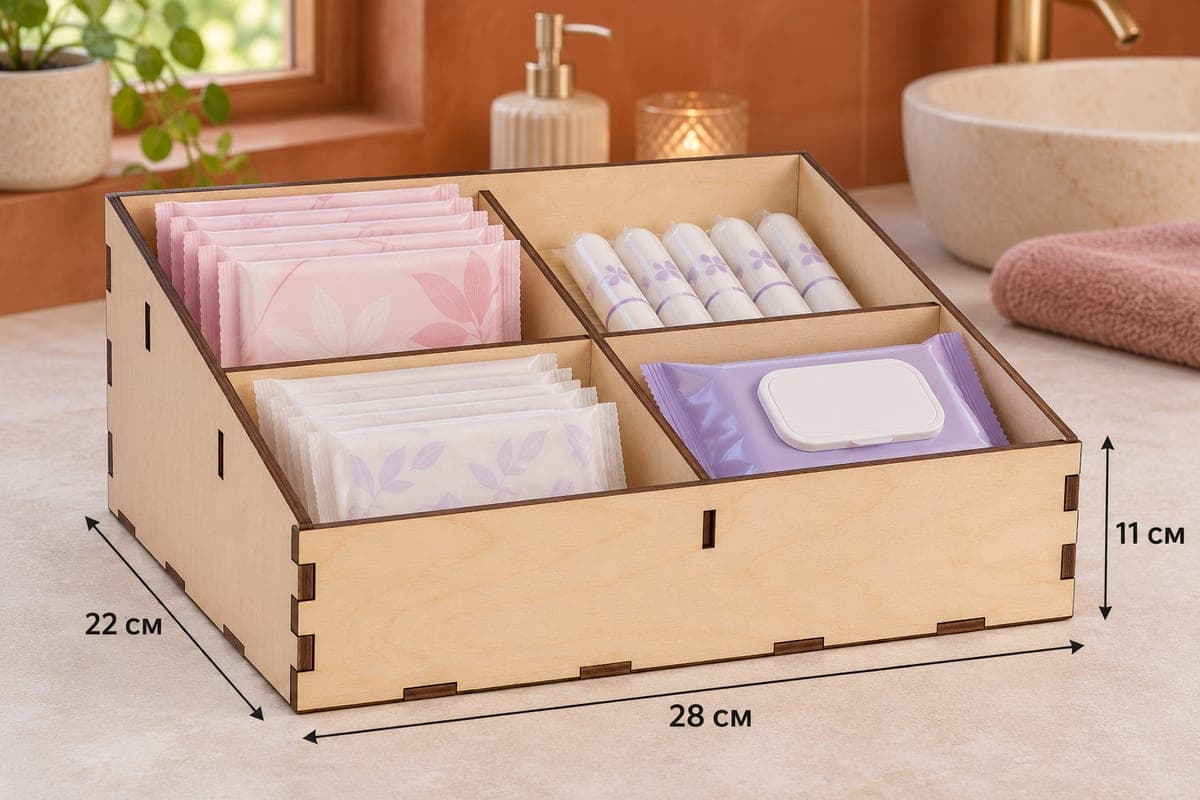
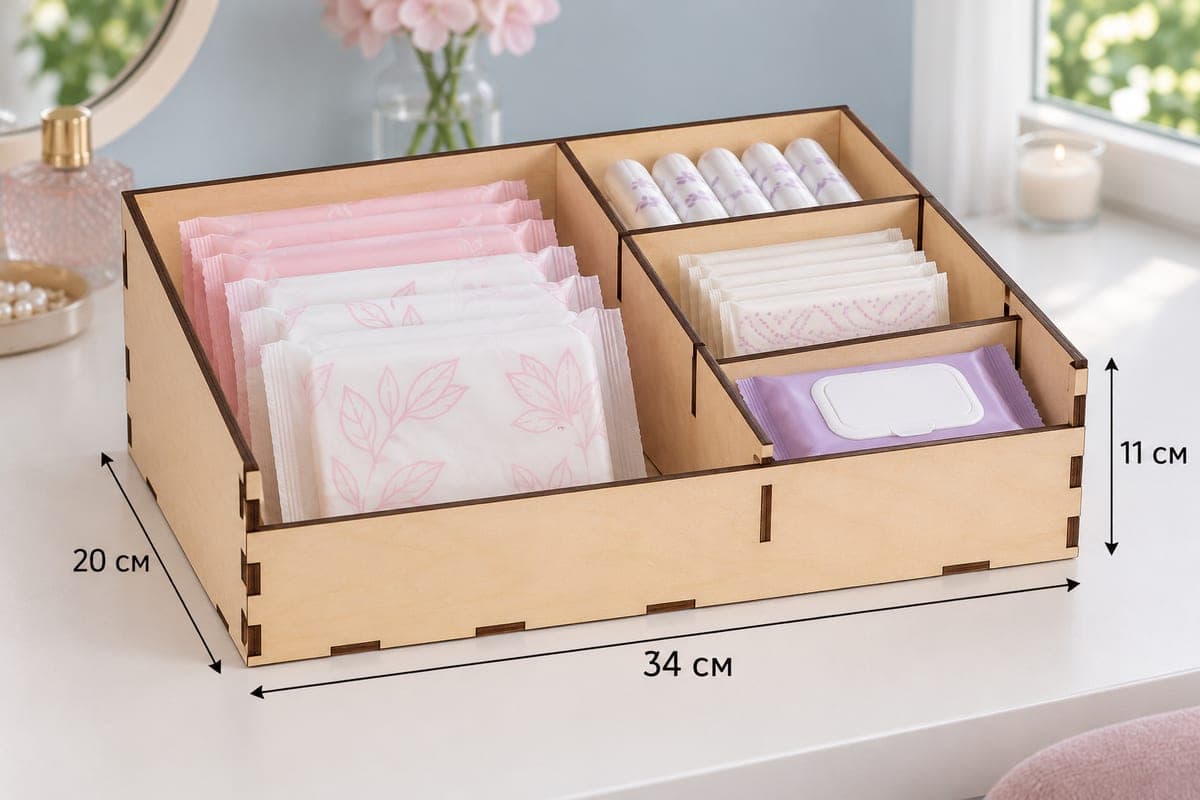
A bathroom pad organizer with one large bay on the left and a stepped column of three smaller bays on the right for tampons, panty liners and wipes. It is supplied as SVG and DXF for 3, 4, 5 and 6 mm plywood, measures 340 × 200 × 110 mm (13.39 × 7.87 × 4.33 in), and assembles from 8 tab-and-slot parts with a sloped front. All files are a free download.
- Formats
- SVG, DXF
- Outer size (W × D × H)
- 340 × 200 × 110 mm (13.39 × 7.87 × 4.33 in)
- Parts
- 8
- Material thickness
- 3, 4, 5 or 6 mm plywood (a file for each)
- Layout size (3 mm file)
- 1,100 × 322 mm
- Cut length
- 6.31 m
- Est. time, 10 W diode (3 mm)
- 21 min 02 s
- Est. time, 40 W CO2 (3 mm)
- 8 min 46 s
- Layers
- CUT only, no engraving
Free account required to download
How to make it
- 01Choose the 3, 4, 5 or 6 mm file to match your plywood, then cut and test one slot on a spare piece.
- 02Cut the 8 parts and label the 93.1 mm cross divider as the rear one and the 76.7 mm piece as the front one.
- 03Fit the long divider into the base, add the two cross dividers to the right half from tall to short, then attach back, sides and the low front.
- 04Sand and oil the box, put pads in the large left bay and tampons, liners and wipes in the stepped column.
Big pad bay plus a stepped column
One long divider runs front to back about halfway along, leaving the whole left half for pads. That bay is deep enough to hold two or three stacks, for example pink day pads behind and white overnight pads in front, as in the photo. The right half is split by two cross dividers of different heights, 93.1 mm and 76.7 mm, so the three bays step down toward the 61 mm front. Tampons go in the back bay, liners in the middle, and a flat pack of wipes in the front one, each a little lower than the one behind it.
Putting it together
There are only 8 parts: front, back, two sloped sides, base, the long divider and the two cross dividers. Mark the taller cross divider after cutting, since it belongs in the rear position. Slot the long divider into the base, push the taller cross divider in at the back of the right half and the shorter one nearer the front, then add the walls. Tabs hold well dry; glue only if you want it permanent. On the 3 mm file a 10 W diode needs about 21 min 02 s, a 40 W CO2 about 8 min 46 s and a 100 W CO2 about 4 min 12 s. The 3 mm layout is 1100 × 322 mm.
Sealing and gifting
Oil brings out the birch grain and keeps splashes from soaking in; give the base underside a coat too. This layout suits someone who mostly uses pads and only keeps a few tampons around. Stocked with a pouch of supplies, it is a kind gift for a first period, or a calm-looking tray for a shared family bathroom.
Questions about this file
How many pads fit in the large bay?
It takes up the left half and the full 200 mm depth, enough for two or three stacks of folded pads lying flat.
Why do the right bays step down?
The two cross dividers have different heights, following the slope of the sides, so the front bay is easiest to reach and the back bay still shows its contents.
Will it work in MDF?
Yes, MDF cuts cleanly, but it absorbs moisture faster than plywood, so seal every edge before using it near a sink.
Can I resize it for a smaller vanity?
Resize the panels, not the slots: slot width has to stay equal to the material thickness, or the tabs will not fit.
Which plywood thickness suits this caddy?
3 mm is enough for a box this size and cuts fastest; choose 4 mm if the caddy is lifted out of a cupboard every day.
Similar files