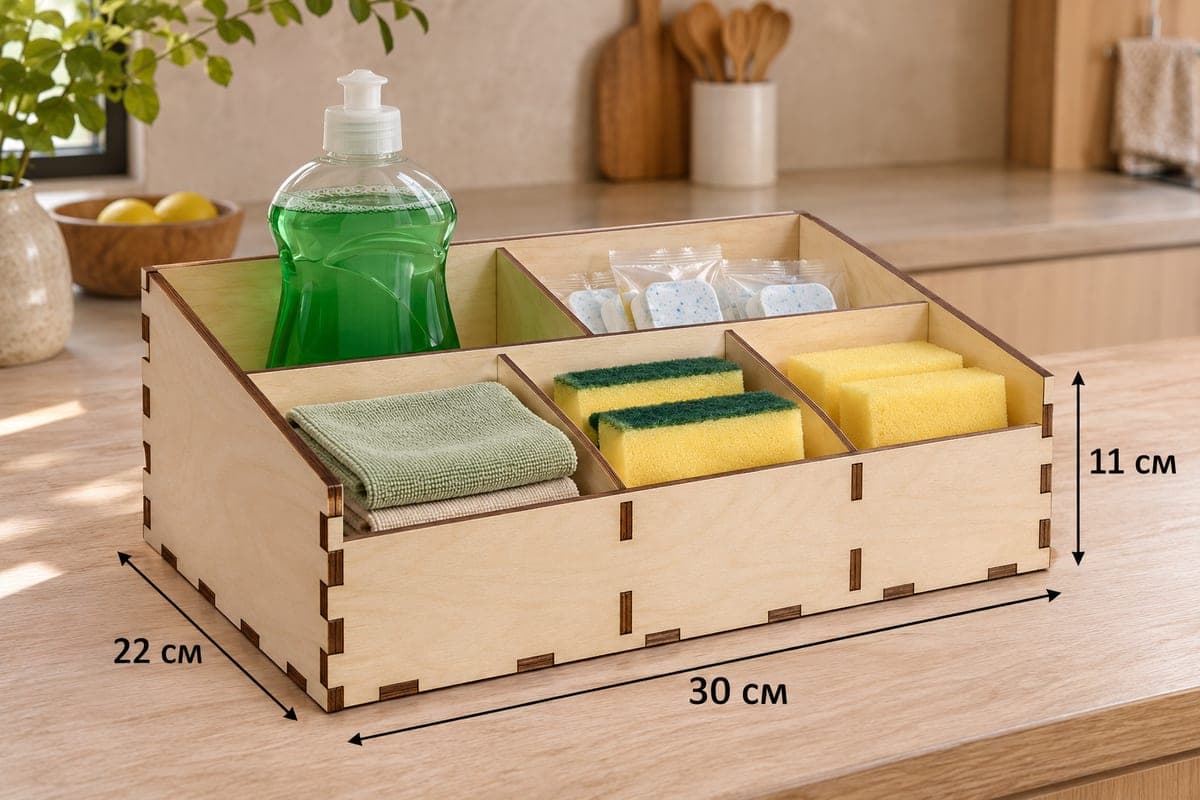
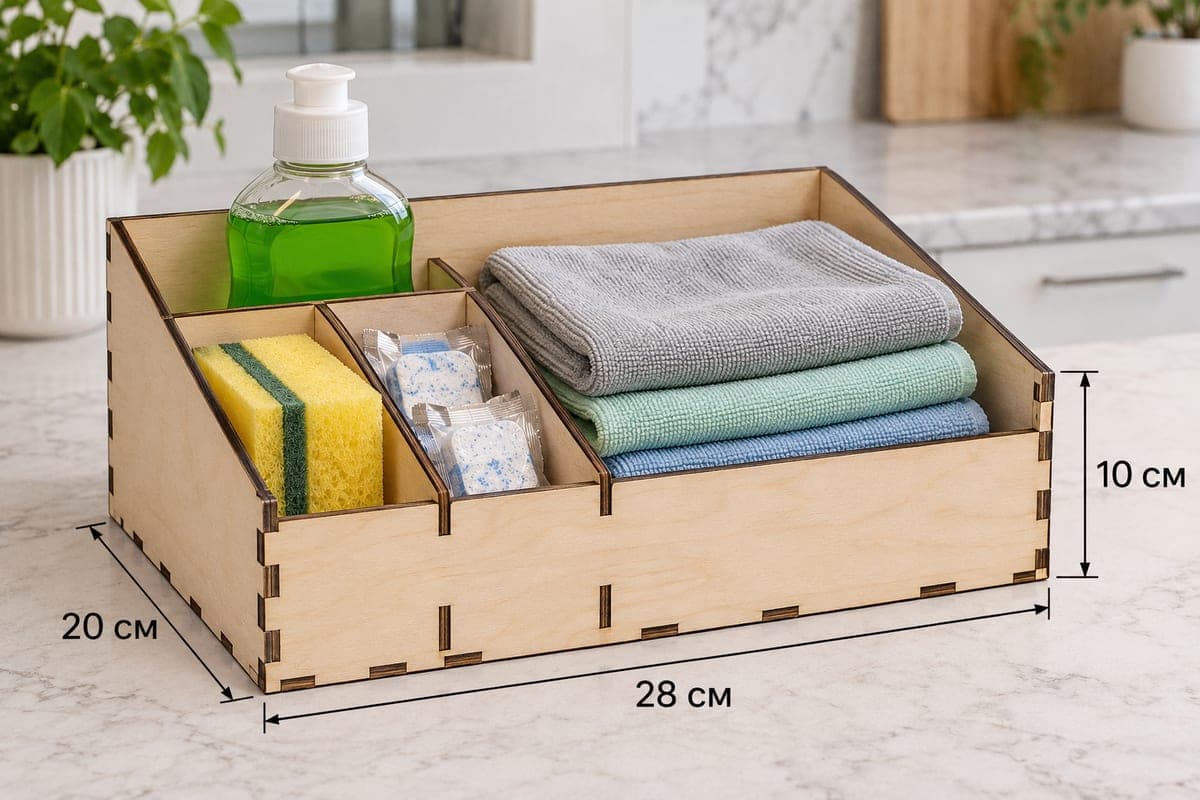
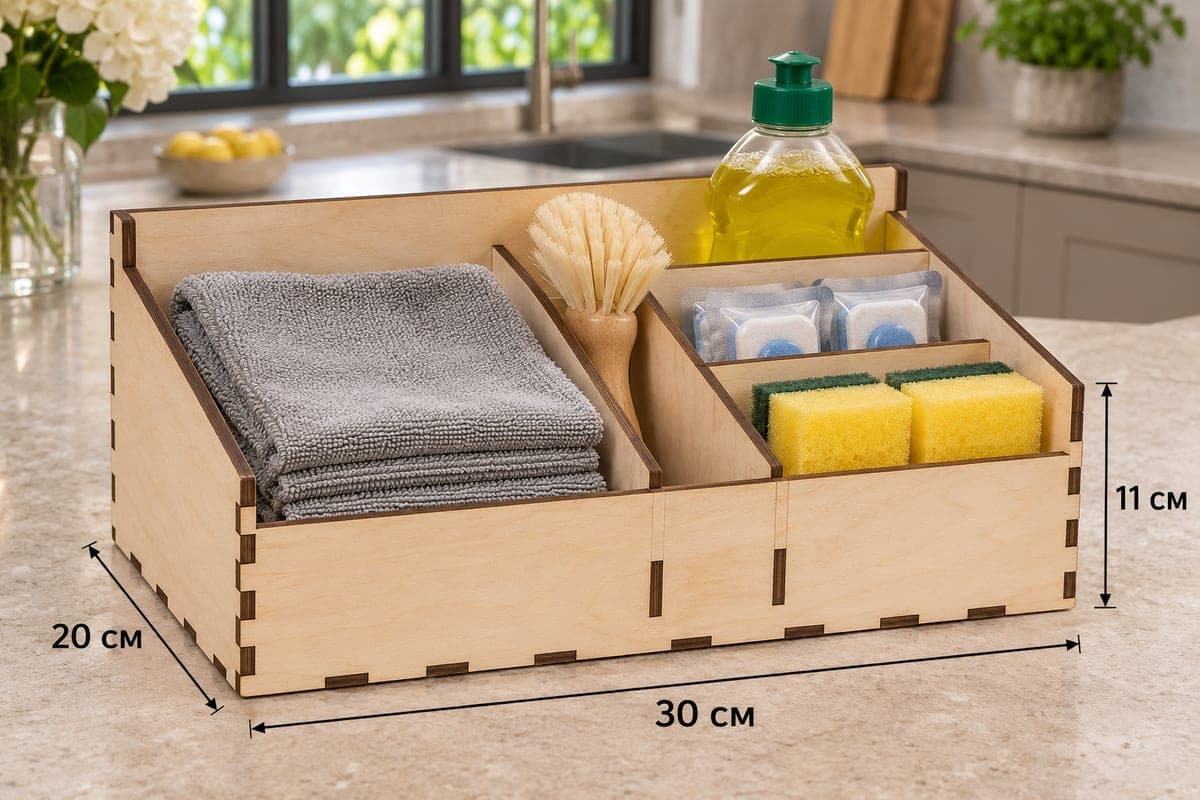
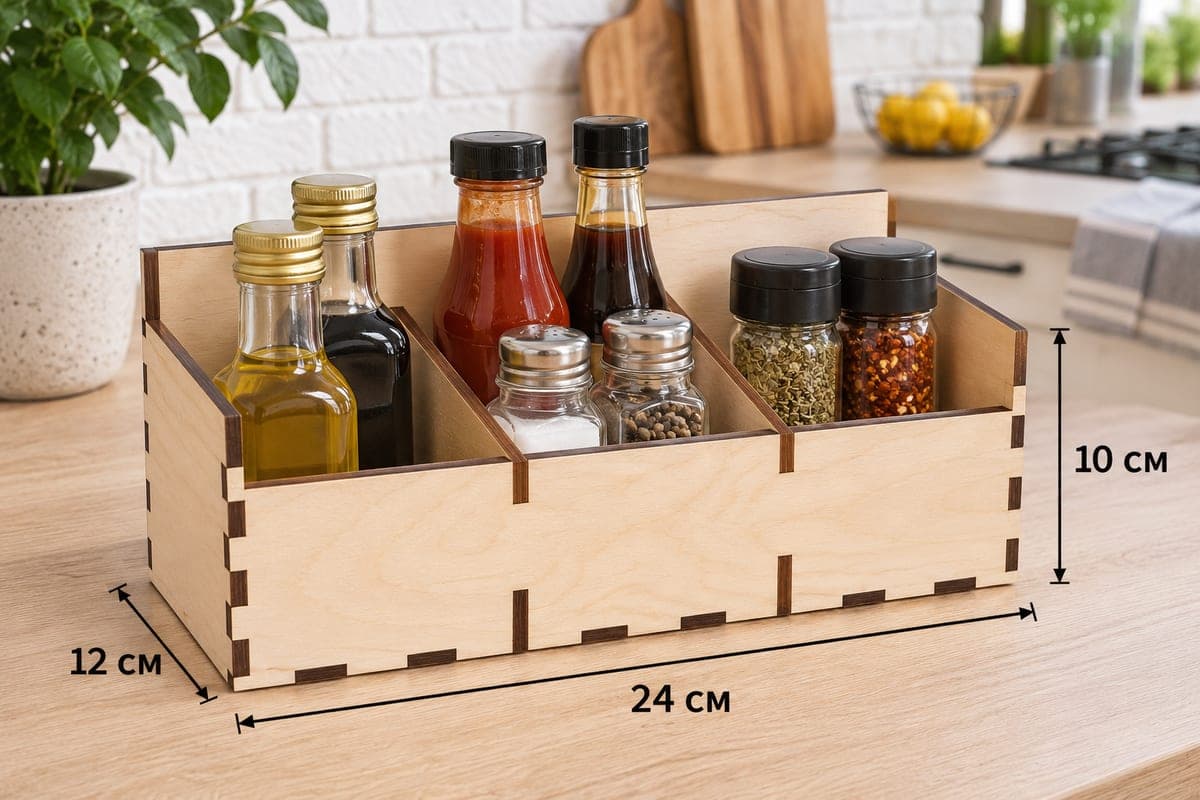
 Visualization
Sponge and Soap Caddy SVG, Three Slot Sink Organizer DXF, Simple Kitchen Cleaning Box Laser File
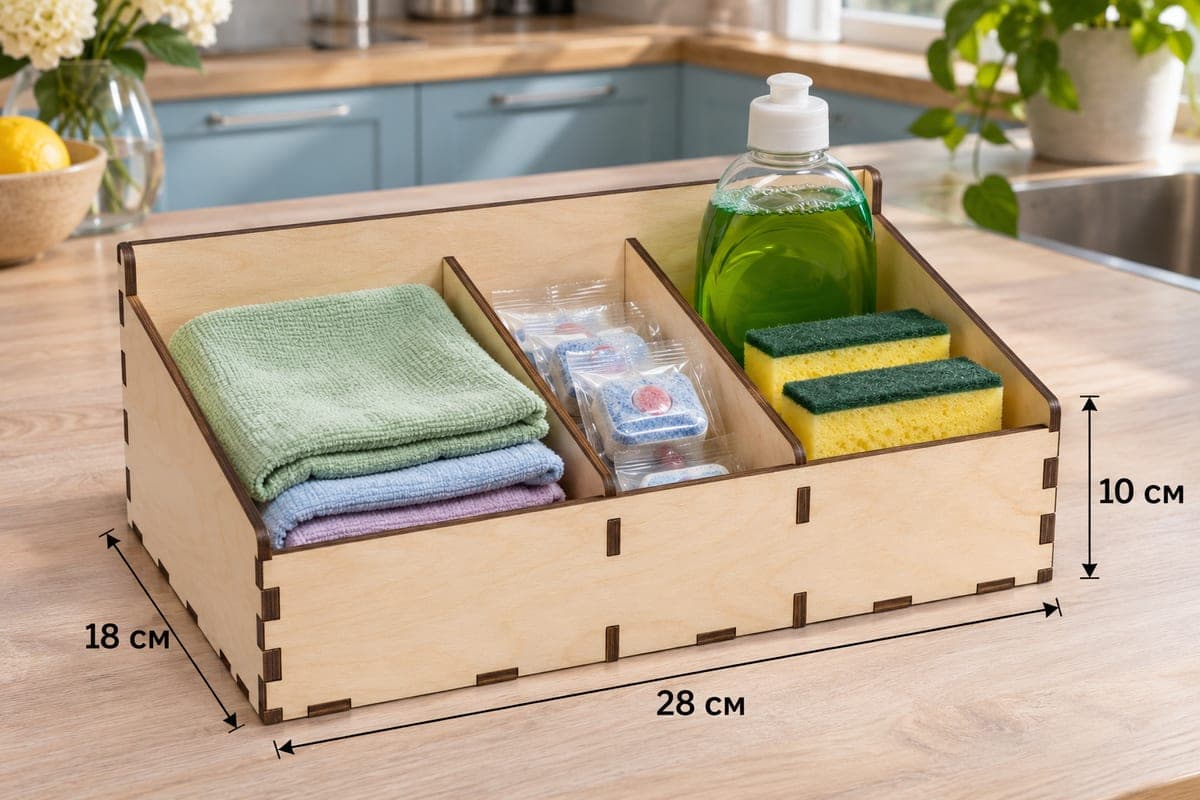
This laser cut file makes a simple sponge and soap caddy with three full-depth slots and a sloped front wall, for dish soap, sponges, cloths and dishwasher tablets. It includes SVG and DXF files for 3, 4, 5 and 6 mm plywood, has an outer size of 280 × 180 × 100 mm (11.02 × 7.09 × 3.94 in) and assembles from 7 pieces with tabs and slots. The caddy is a free download, all eight files included.
- Formats
- SVG, DXF
- Outer size (W × D × H)
- 280 × 180 × 100 mm (11.02 × 7.09 × 3.94 in)
- Parts
- 7
- Material thickness
- 3, 4, 5 or 6 mm plywood (a file for each)
- Layout size (3 mm file)
- 940 × 292 mm
- Cut length
- 4.96 m
- Est. time, 10 W diode (3 mm)
- 16 min 33 s
- Est. time, 40 W CO2 (3 mm)
- 6 min 54 s
- Layers
- CUT only, no engraving
Free account required to download
How to make it
- 01Choose the file for your plywood thickness and cut one test slot to check that a tab fits firmly.
- 02Cut the seven pieces: front, back, two sloped sides, base and two full-depth dividers.
- 03Set the two dividers into the base slots first, then add the back, both sides and finally the low front panel.
- 04Sand, seal with a waterproof clear coat, and load cloths on one side, tablets in the middle and soap with sponges on the other.
Three slots, nothing fussy
This is the simplest caddy in the sink set: two dividers run straight from the back wall to the front, giving three equal slots that go the full 180 mm depth. In the photo the left slot holds three folded microfiber cloths, the middle slot a stack of wrapped dishwasher tablets, and the right slot a bottle of dish soap with two sponges leaning in front of it. The sides fall from 100 mm at the back to 50 mm at the front, which keeps the bottle supported while the sponges stay in easy reach.
A good first kitchen project
With only seven parts and a 940 × 292 mm layout for 3 mm, it is a quick job. Expect about 16 min 33 s on a 10 W diode, about 6 min 54 s on a 40 W CO2 and about 3 min 19 s on a 100 W CO2, for the 3 mm file. A 10 W diode needs one or two passes for 3 mm; for the 5 and 6 mm versions you will want more power or patience with several passes. On a bed shorter than 940 mm, cut the base on its own sheet.
Keeping it dry
Unfinished plywood will stain and swell next to a wet sponge, so seal it. Sand all edges, then brush on two or three coats of polyurethane or rub in hard wax oil, working it into the slot joints. Glue is optional; the tabs lock the dividers in place, and a little wood glue makes the whole thing rigid.
Gift and shop ideas: sell it as an affordable starter piece, put one in a kitchen gift basket with a new soap and sponges, or offer it painted to match tiles.
Questions about this file
Is this caddy suitable for a beginner?
Yes, it has only seven parts and every divider runs straight from back to front, so there is little to get wrong in assembly.
Can the slots hold a dish brush?
A brush with a short handle stands well in any of the three slots, since each one runs the full depth of the box.
Why can I not just scale it to 120 percent?
Scaling also widens the slots, which must stay equal to your sheet thickness. Scale the outline, then redraw the slots to the real material size.
What finish works best near the sink?
A clear polyurethane or a hard wax oil, applied to every face and edge, keeps water out. Let it cure before you put wet sponges in.
Can I cut it from 3 mm acrylic?
Yes, use the 3 mm file and bond the joints with acrylic cement. Acrylic shrugs off water and never needs sealing.
Similar files