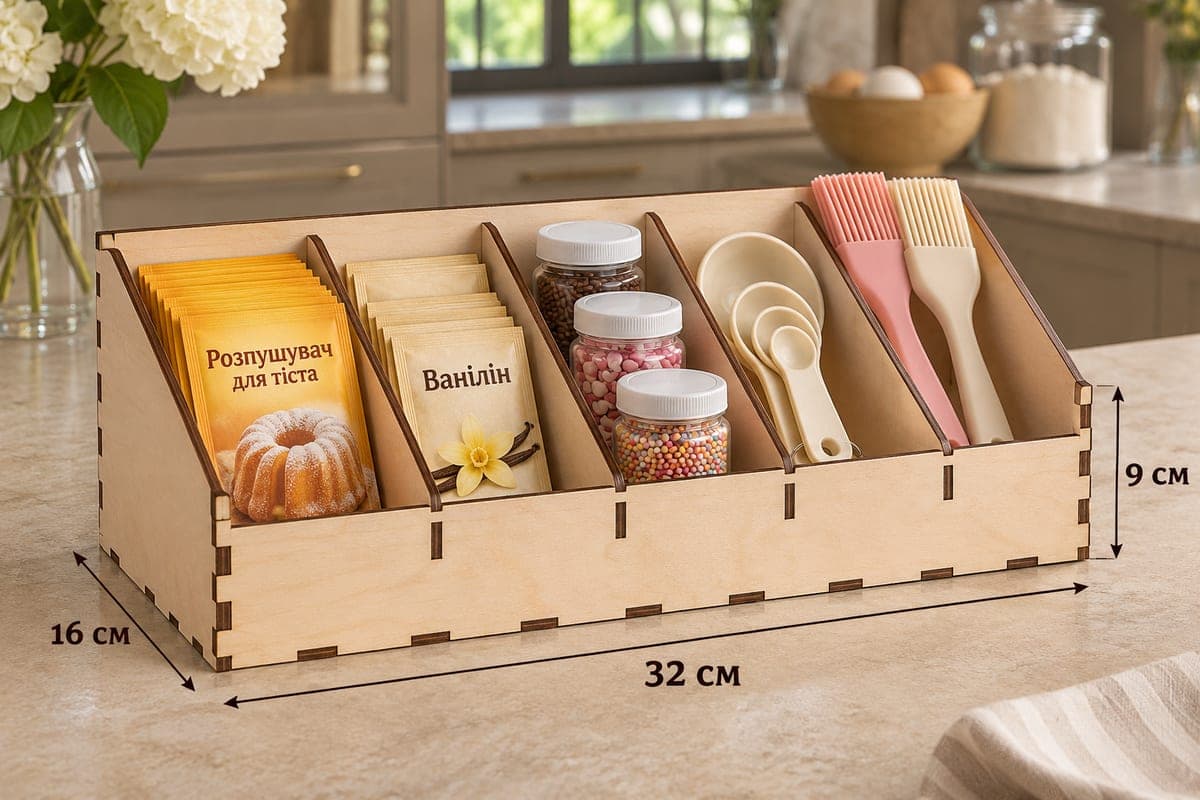
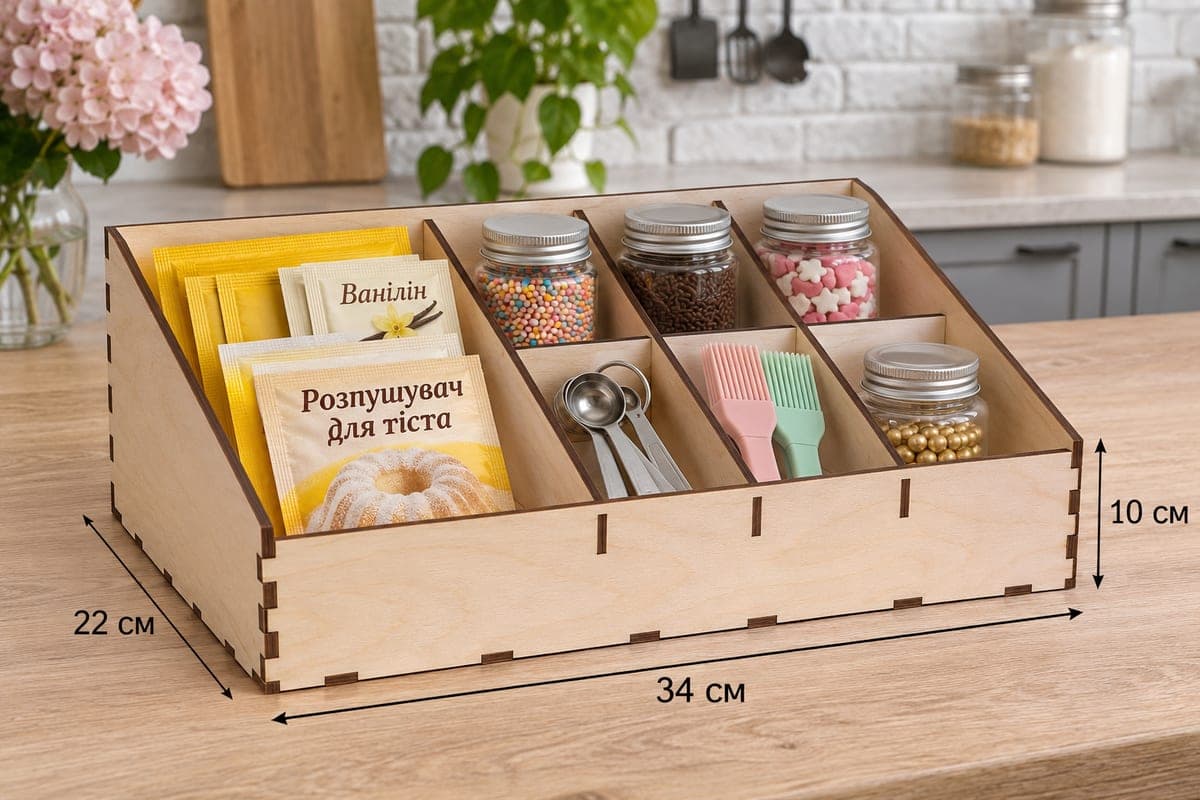
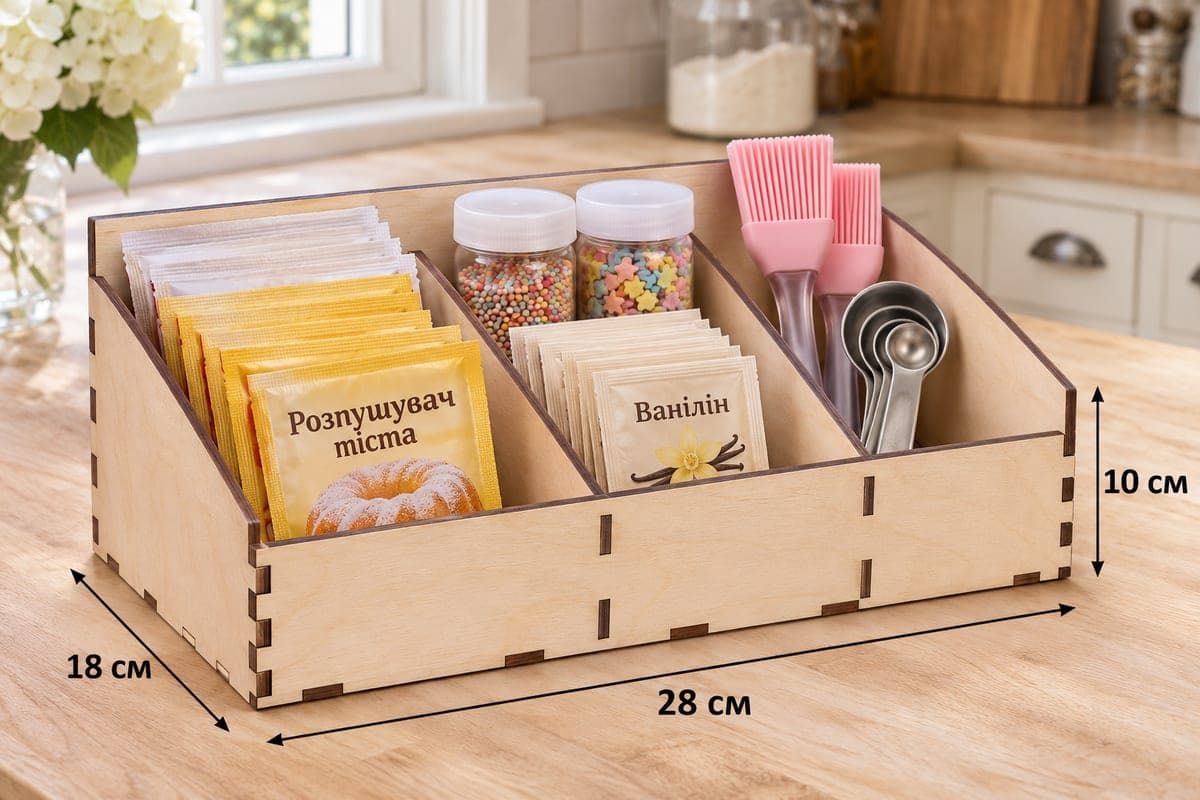
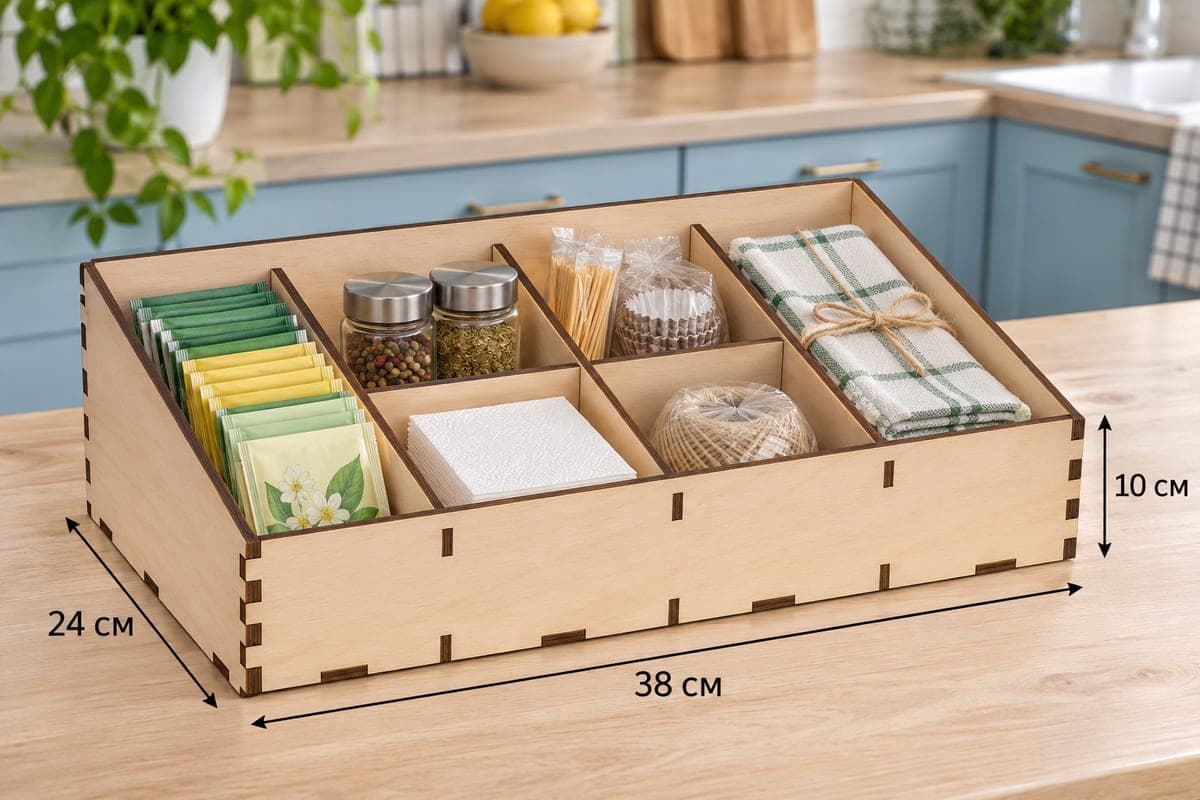
 Visualization
Sprinkles Organizer SVG, Nine Compartment Tiered Baking Box Laser Cut File, Cupcake Liner and Sprinkle Jar Holder DXF
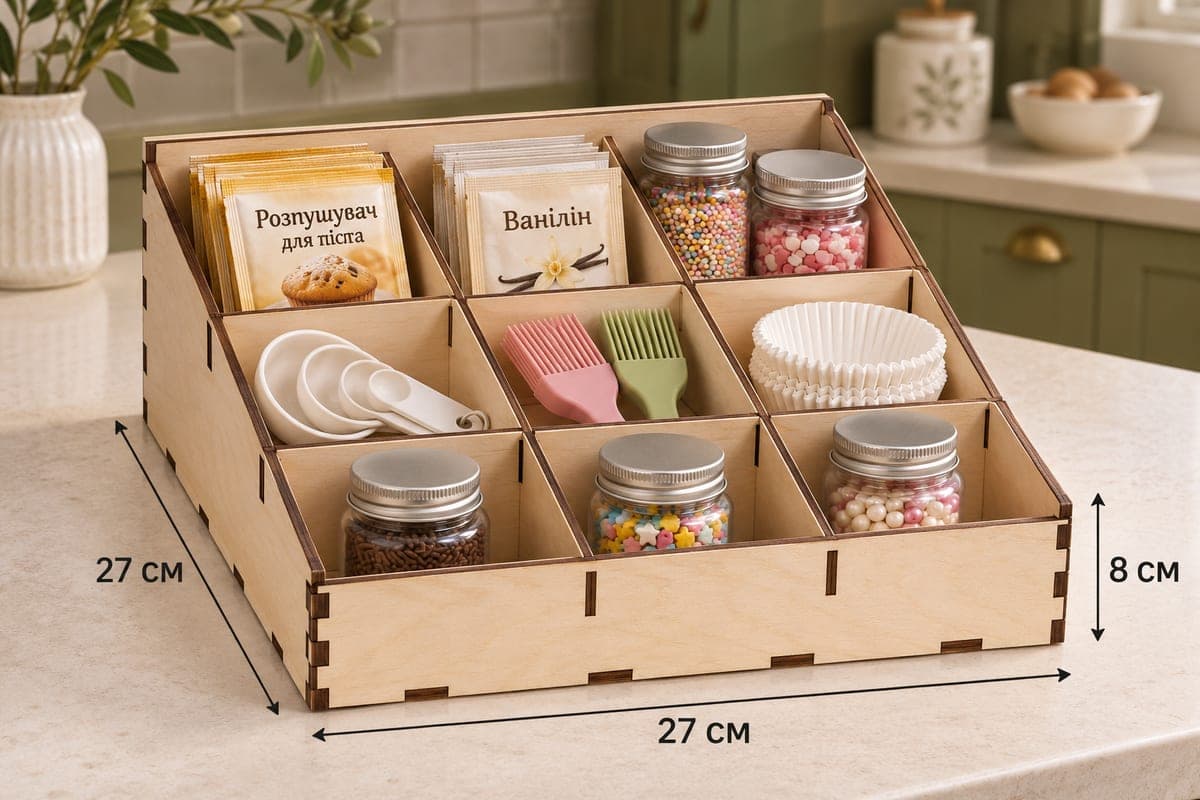
A square nine-compartment baking organizer with three stepped rows of three, for sprinkle jars, baking sachets, measuring spoons, pastry brushes and paper cupcake liners. The download contains SVG and DXF files for 3, 4, 5 and 6 mm plywood; it is 270 × 270 × 80 mm (10.63 × 10.63 × 3.15 in), has 13 pieces, the most in this category, with a front sloping down to 36 mm, and it fits together with tabs and slots. Free to download.
- Formats
- SVG, DXF
- Outer size (W × D × H)
- 270 × 270 × 80 mm (10.63 × 10.63 × 3.15 in)
- Parts
- 13
- Material thickness
- 3, 4, 5 or 6 mm plywood (a file for each)
- Layout size (3 mm file)
- 1,100 × 446 mm
- Cut length
- 8.13 m
- Est. time, 10 W diode (3 mm)
- 27 min 06 s
- Est. time, 40 W CO2 (3 mm)
- 11 min 18 s
- Layers
- CUT only, no engraving
Free account required to download
How to make it
- 01Pick the 3, 4, 5 or 6 mm file and cut one test slot to check that the tabs fit snugly.
- 02Cut all 13 parts and sort the six short dividers into pairs by height: lowest for the front row, middle for the middle row, tallest for the back.
- 03Assemble the square base with back, sides and front, insert the taller cross divider and then the lower one, and finish with the pairs of short dividers row by row.
- 04Sand, lacquer, and fill the back row with sachets, the middle with tools and liners and the front with sprinkle jars.
Nine cells on three steps
This square box has the most compartments of all the baking organizers: nine, set out as a 3 × 3 grid. Two cross dividers, about 50 and 65 mm tall, divide it into three rows that step down from the 80 mm back to the 36 mm front, and each row has two short dividers. Every cell is visible from the front, even the back corner.
The photo uses the rows like this:
- Back row: baking powder sachets, vanilla sugar sachets, and two jars of nonpareils and pink and white sprinkles.
- Middle row: nested measuring spoons, a pink and a green silicone brush, and a stack of paper cupcake liners.
- Front row: three short jars of chocolate sprinkles, star confetti and white sugar pearls.
Each cell is close to 85 mm square, so a standard cupcake liner stack fits without folding.
Building it
13 parts: front, back, two sides, a 270 × 270 mm square base, two long cross dividers of different heights and six short dividers in three heights. Lay the parts out by row as they come off the laser to avoid mix-ups.
The 3 mm layout is 1100 × 446 mm, so most diode lasers will need it split into two or three jobs. Time for the 3 mm file: about 27 min 06 s on a 10 W diode, about 11 min 18 s on a 40 W CO2 and about 5 min 25 s on a 100 W CO2. Thicker 5 and 6 mm sheets take a diode several passes.
Finish and ideas for selling
The walls are low and the contents light, so 3 mm plywood is enough. Glue is optional; a drop on the base tabs fixes it for good. Sand and seal with a water-based lacquer.
Sold as a cupcake decorating station with liners and sprinkles, it is a strong gift listing. Craft fair buyers like the square shape because it fits a corner of the counter.
Questions about this file
Do cupcake liners fit in one cell?
Yes, each cell is close to 85 mm square, which takes a stack of standard paper liners lying flat, as in the photo.
Why are the rows different heights?
Each row sits lower than the one behind, so you see the contents of all nine cells from the front without moving anything.
Is 3 mm thick enough?
Yes, with low walls and light contents 3 mm is enough, and it keeps the cutting time down on a diode.
Can I scale it up for bigger jars?
You can enlarge the outline, but slot widths must match your plywood thickness, so correct them after scaling.
Can I paint each cell a different color?
Yes, paint the dividers before assembly with water-based paint, then seal everything with clear lacquer.
Similar files